

Oh, decorating is so much fun! Especially in this fall season that brings promise of change and happy "fallish" activities to come! It's this time of year that I start pushing myself to work on all those projects that's I've been neglecting...such as today's DIY!
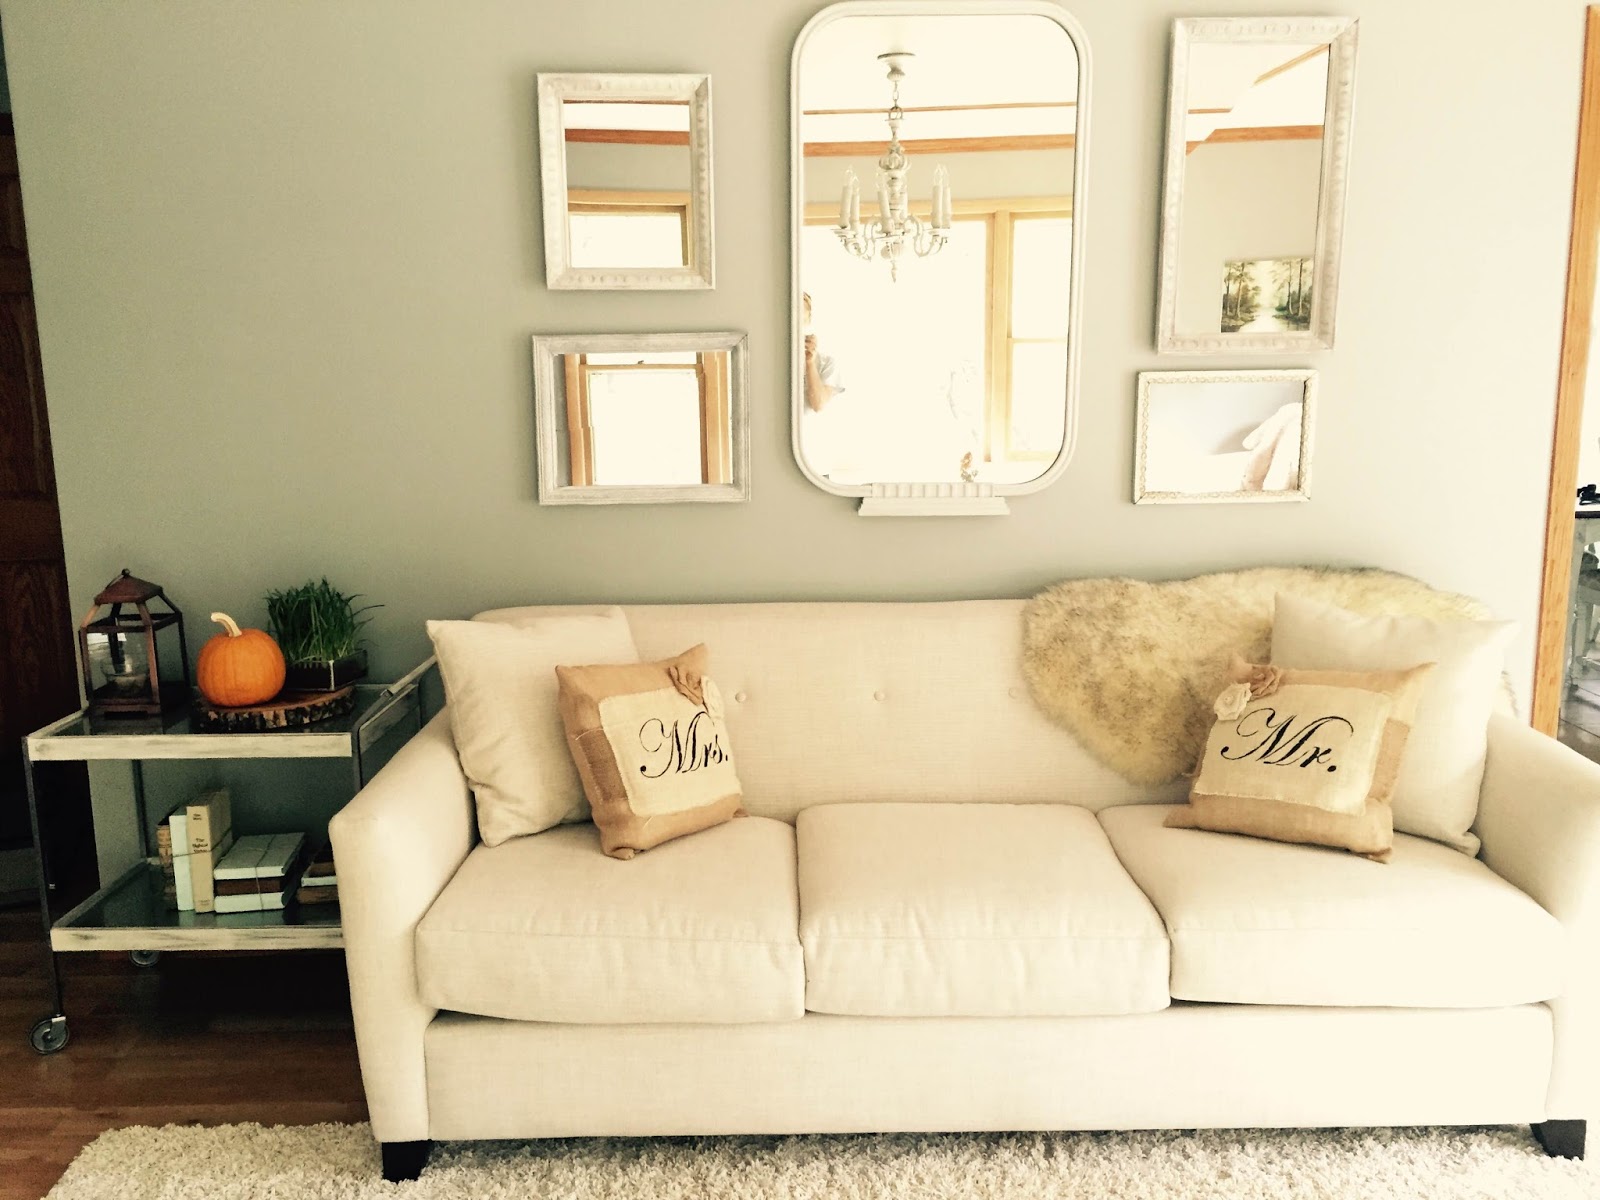
Today, we are sharing on how to make a room feel BIGGER by creating a mirror collage out of vintage frames. Wood vintage frames far surpass their lookalikes and hit so many design must haves!
1. The wood detail adds texture to the room
2. The collage brings height and levels to the walls
3. The reflective mirrors create a sense of depth and make the room feel larger.
See? Win win!
Materials needed:
5+ Vintage Frames
Paint
Brush
Mirror glass
Cardboard
Wood glue
Cost:
$10 - $30
Estimated Time:
3 hours
Collect your Frames -
I amassed multiple antique frames ranging in age from pre-1920's-1960's from estate sales (usually for $0.50-$1 each). I recommend starting your hunt for frames at estate and garage sales before going to thrift stores (these stores have their merits, but are often overprice and picked over by the time you get to them). The kind of frames you want to look for are the ones with the hideous homemade cross stitch, or the painting of a deer in primary colors. In other words, the one's that other people pass up because they can't see past the ugly. Look for real wood and carved detail (texture!).

Mirrors -
I got two mirrors at Target for $5.99 each. You can also check Menards or Home Depot if you desire a more high quality mirror. I found out later that higher quality mirrors splinter less when cutting than the cheap ones.
Note: Make sure you measure your frames before purchasing mirrors to make sure it is going to be wide enough to fit the frame.

The paint brand and color you choose is all personal preference. We use Country Chic Paint here at Ramshackled Treasures. There is a plethora of colors to choose from and it's quality is second to none!

Frames after 2 coats of paint
Cut the Mirrors to Size -
Many hardware stores will cut mirrors for you. I took mine to Hardware Hanks and they charged $1 per cut. They ask you to sign a waiver saying you won't hold them responsible if they break your mirror. In the end, they didn't break my mirrors and only charged me $6! Score!

Antiquing the Glass -
If you really want to get fancy, another option is to age the glass and give it that tarnished, speckled look.
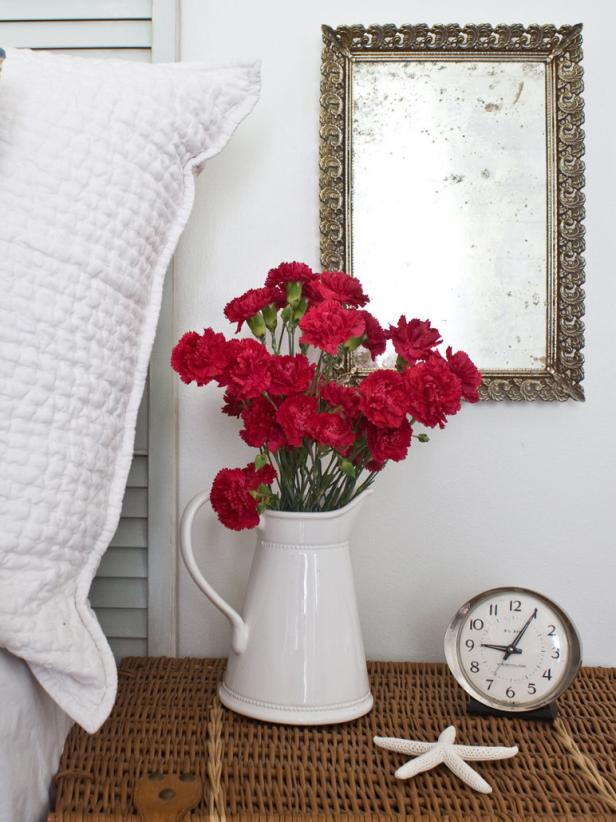
Click here for a step-by-step tutorial from HGTV!
Secure the Back -
While I was at Hardware Hanks, I asked if I could dig through their recycle bin for cardboard scraps and they were more than happy to oblige. I used the cardboard to cut a backing to secure the mirror in the frame. I used wood glue and a staple gun--I wanted it to be extra secure!
Wall Arrangement -
It's up to you! I gleaned ideas from these layouts.

Large Mirror Center Stage -
I picked up a very large mirror at an estate sale for $1. It wasn't till I got home I realized its is a vintage toilet mirror (50's era I'm guessing?). Since it was already a mirror I just painted the frame and it was done!
Close ups so you can see the paint on the textured frames.


Ta Daaaaa!
Ask us your questions or share your thoughts we'd love to hear from you!!!
Lovely project! Mirrors really do make a space feel bigger - especially a big, beautiful mirror! I might have to try this one out myself.
ReplyDeleteThank you Jordan! Take a pic and tag us on Instagram when you finish, we love to see other DIYers are doing!
DeleteThank you Jordan! Take a pic and tag us on Instagram when you finish, we love to see other DIYers are doing!
Delete