Showing posts with label enjoying your home. Show all posts

Monday, January 18, 2016

Happily Better After: Episode 2


Who doesn't love a Cinderella story? The ash smeared scullery maid is turned into a princess in bippity boppity boo! The journey of our ramshackled treasures isn't instantaneous beautification and we are not fairy godmothers, but the similarities can be drawn. ;)

Last month we showed you pictures of our furniture before they received makeovers and then their yummy after shots! This month, we have another Happily Better After picture book to open up for you...


Before & After


Before & After


Before & After


Before & After


Before & After


Before & After


Before & After


Before & After


Before & After


Before & After


If transformation and tackling a good ol' fashion DIY inspires you, check out our chalk-based Country Chic Paint. We love everything about it! Or if you live here in Minnesota, think about signing up for one of our upcoming painting classes on January 21st and February 7th--register online or call the shop for more information!

Hope to see you there! 


Monday, October 26, 2015

How to Decorate Farmhouse style (Pt. 2): "Fixer Upper" Inspired

Last week we posted Part 1 and got good responses! So we're back this week to talk farmhouse style, again! We are nabbing our favorite decorating tips and tricks from HGTV Fixer Upper on how you can incorporate that oh-so-coveted farmhouse look in your home! 

Free Standing Furniture in the Kitchen


A hutch, repurposed book shelf or buffet can be the perfect piece to display your cookbooks and dishes in a kitchen corner. Remember not to clutter up your space too much, but give it room to breath! 

Trough planter boxes


So versatile and cute. We have these hydrangea fall and pumpkin troughs at the store now for $69!


Cowhide 


Who doesn't love a cozy cowhide throw rug or chair? Another alternative is faux hide. This accent chair is $189 at the store. 

Wood You like a Sign?


Dress up and personalize your bedrooms and living areas with a saying, verse or word that is meaningful to you. 


I Deerly Want to be Yours!

Alright, enough with the bad puns. ;) But our deer heads mounts are just too cute to go unnoticed!


Textured Reclaimed Wood Wall

If you really want to get serious, a textured wood wall can add just the right amount of pop! that you're looking for. We are kind of crushing on this kitchen from the Decoist


Where are you in your decorating journey? Are you just getting started? Is your home cozily complete? Comment below or tag us on Instagram or Facebook. We'd love to hear from you! 


Monday, September 28, 2015

September DIY: How to Make a Small Room Feel Bigger


Oh, decorating is so much fun! Especially in this fall season that brings promise of change and happy "fallish" activities to come! It's this time of year that I start pushing myself to work on all those projects that's I've been neglecting...such as today's DIY! 

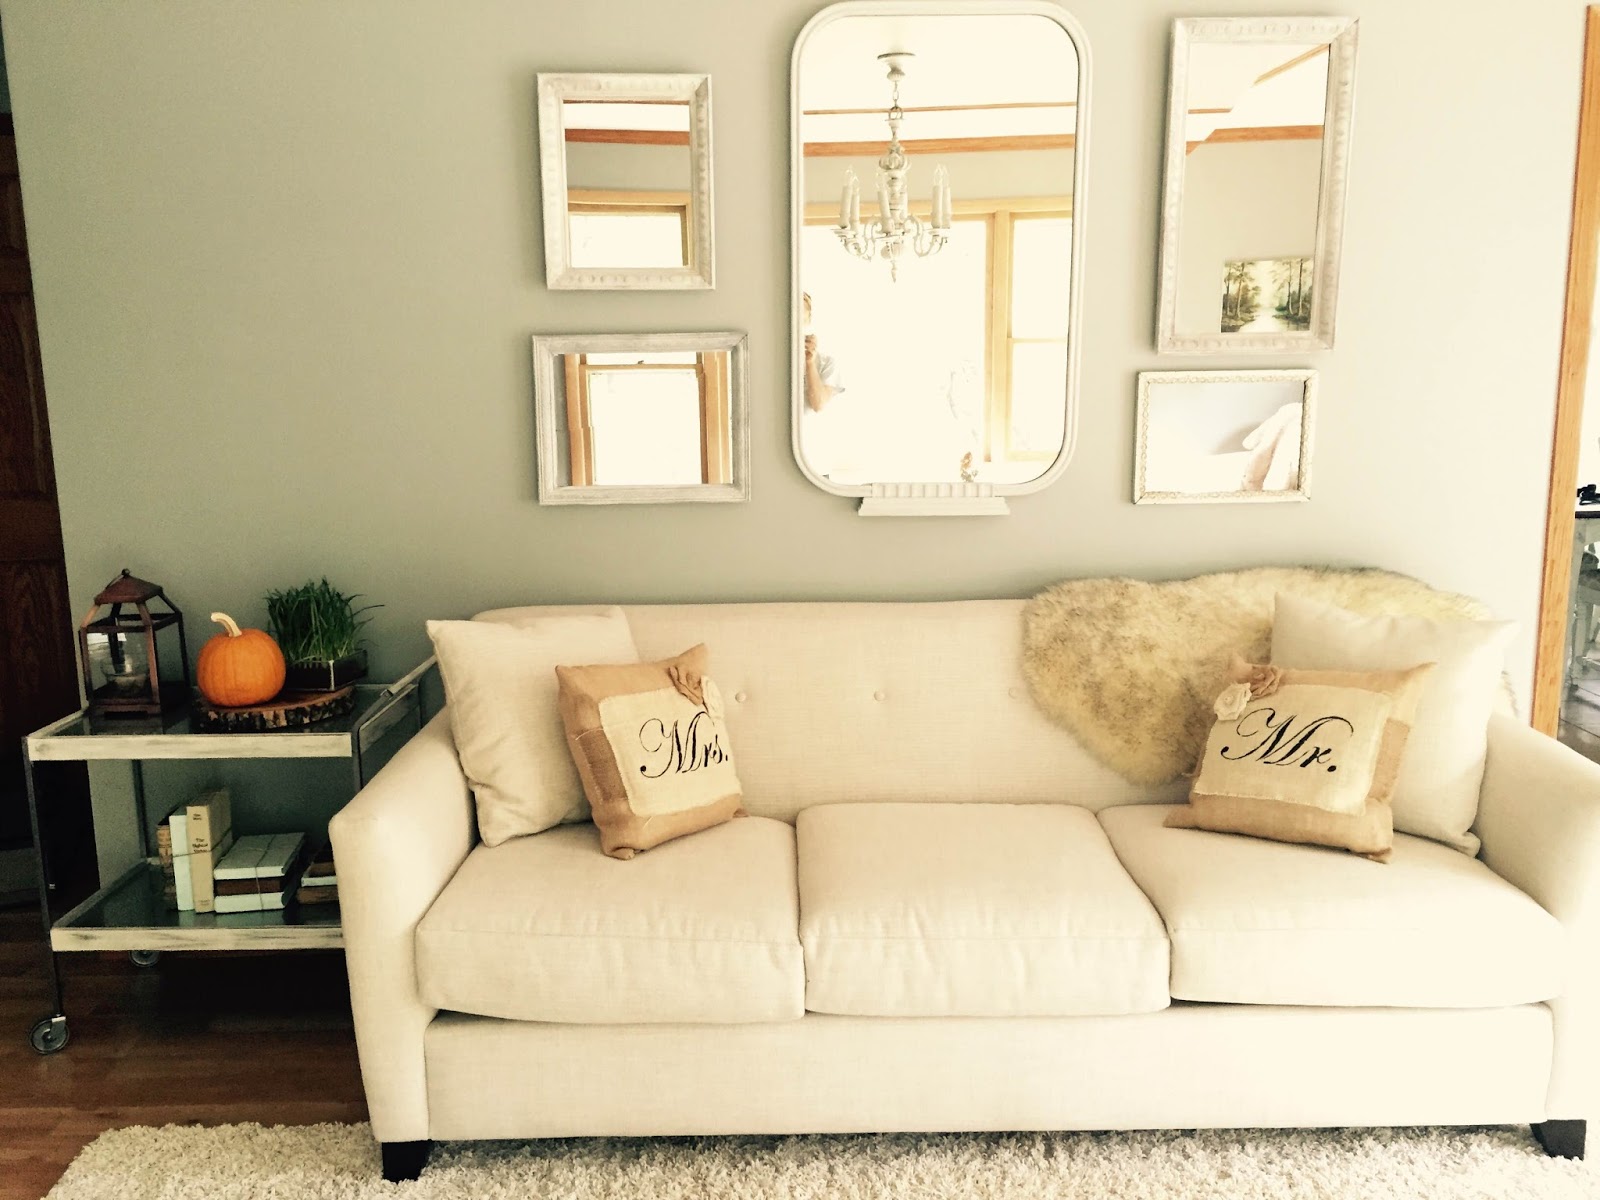
Today, we are sharing on how to make a room feel BIGGER by creating a mirror collage out of vintage frames. Wood vintage frames far surpass their lookalikes and hit so many design must haves!

1. The wood detail adds texture to the room
2. The collage brings height and levels to the walls
3. The reflective mirrors create a sense of depth and make the room feel larger.

See? Win win!

Materials needed: 

5+ Vintage Frames
Paint
Brush
Mirror glass
Cardboard
Wood glue

Cost: 
$10 - $30

Estimated Time:  

3 hours


Collect your Frames - 

I amassed multiple antique frames ranging in age from pre-1920's-1960's from estate sales (usually for $0.50-$1 each). I recommend starting your hunt for frames at estate and garage sales before going to thrift stores (these stores have their merits, but are often overprice and picked over by the time you get to them). The kind of frames you want to look for are the ones with the hideous homemade cross stitch, or the painting of a deer in primary colors. In other words, the one's that other people pass up because they can't see past the ugly. Look for real wood and carved detail (texture!).


Mirrors - 

I got two mirrors at Target for $5.99 each. You can also check Menards or Home Depot if you desire a more high quality mirror. I found out later that higher quality mirrors splinter less when cutting than the cheap ones.


Note: Make sure you measure your frames before purchasing mirrors to make sure it is going to be wide enough to fit the frame.


Paint your Frames - 


The paint brand and color you choose is all personal preference.  We use Country Chic Paint here at Ramshackled Treasures. There is a plethora of colors to choose from and it's quality is second to none!


Frames after 2 coats of paint


Cut the Mirrors to Size - 

Many hardware stores will cut mirrors for you. I took mine to Hardware Hanks and they charged $1 per cut. They ask you to sign a waiver saying you won't hold them responsible if they break your mirror. In the end, they didn't break my mirrors and only charged me $6! Score!


Antiquing the Glass - 

If you really want to get fancy, another option is to age the glass and give it that tarnished, speckled look.


Click here for a step-by-step tutorial from HGTV!

Secure the Back - 

While I was at Hardware Hanks, I asked if I could dig through their recycle bin for cardboard scraps and they were more than happy to oblige. I used the cardboard to cut a backing to secure the mirror in the frame. I used wood glue and a staple gun--I wanted it to be extra secure!


Wall Arrangement - 

It's up to you! I gleaned ideas from these layouts.


Large Mirror Center Stage - 

I picked up a very large mirror at an estate sale for $1. It wasn't till I got home I realized its is a vintage toilet mirror (50's era I'm guessing?). Since it was already a mirror I just painted the frame and it was done! 

Close ups so you can see the paint on the textured frames.


Ta Daaaaa! 


What do you think of our mirror DIY project? Have you ever tackled anything similar in your home? 

Ask us your questions or share your thoughts we'd love to hear from you!!! 


Monday, September 7, 2015

Ramshackled Treasures 10th Anniversary Room Redo Giveaway!!!

Happy Birthday to us! This year, Ramshackled Treasures celebrated it's 10th Anniversary! To thank our wonderful customers we gave away a Room Redo to one lucky winner!

Our winner was Samantha Paulinski, a young mother and wife from St. Michael, MN. After the Redo was complete, Samantha interviewed with us about her experience.

How long have you lived in your current town home? 

Samantha: We moved into this little town home May of 2013! Then shortly after in November we had our son, Rylan. This place is far too tiny and I feel like we are in a shoe box but this is the house we brought Rylan home to, so it just sort of feels like home!


BEFORE: 


When you won the Room Reno, how did you feel? What was the first thought that crossed your mind? 

Samantha: I actually brought my mother-in-law to the shop when they were entering names for the drawing, and she entered my name while I was there. I had no idea what the drawing was even for!

Before Stacey came in and "worked her magic,” what did you dislike/wish you could change about your bedroom?

Samantha: As the toy quantities climbed to an all time high, we traded rooms with our son, since there isn't a play area in the house. So we had his old nursery which had this terrible green wall. It just wasn't a cozy space to wind down. Our room just never felt important to redo because there was always something else that could be done. So it was nice to have a grown up space to go to at the end of the day!

Were you nervous handing the reins over to someone else to decorate your home?  


Samantha: Stacey talked to me a lot about my style, she was very patient while we looked for furniture pieces.  I want to thank everyone at the RT family for the great room redo! I love everything about the room. Thanks!


AFTER: 


Repainted white headboard & new bedding! 

New end tables and pallet art


Wall art, newly painted table and metal art

Lovely new dresser 


And there you have it! Congrats Samantha! Glad you love your refreshed room!